I really hope you enjoy working this pattern! I fell in love with the Ramblin’ Rose crochet project as I was working it up. The intricate design of the little rose buds, I simply could not keep this pattern to myself! In a short period you will have a stunning hat, scarf, blanket or other. The piece is simple, yet elegant and with only 2 repeating rows to master, you may just be repeating this in your sleep! Don’t let the excitement of the twisted stitches wake you up at night! Every crocheter needs their sleep!
I really hope if you give it a try, you will show me your beautiful work!
Although the stitches seem a little complicated at first, after running through a couple of rows, I’m confident you will breeze through it.
At this time, the video for the hat is still in edit mode. Once it is available, it will be linked within this pattern. For now, if you are struggling to figure out any of the stitches in this pattern, I have linked the area in the video for the Ramblin’ Rose scarf pattern so you can see how to work those particular stitches up.
The written Ramblin’ Rose Scarf Pattern can be found by Clicking Here!
I will ALWAYS do my very best to help! If you need assistance with anything in the pattern or any of my patterns, please feel free to contact me via pm on Facebook, you are welcome to tag me with your question in the YarnWars Facebook group (Colleen Hays) or email me at yarnwars@gmail.com.
FULL VIDEO TUTORIAL AVAILABLE FOR THIS PATTERN!
Materials
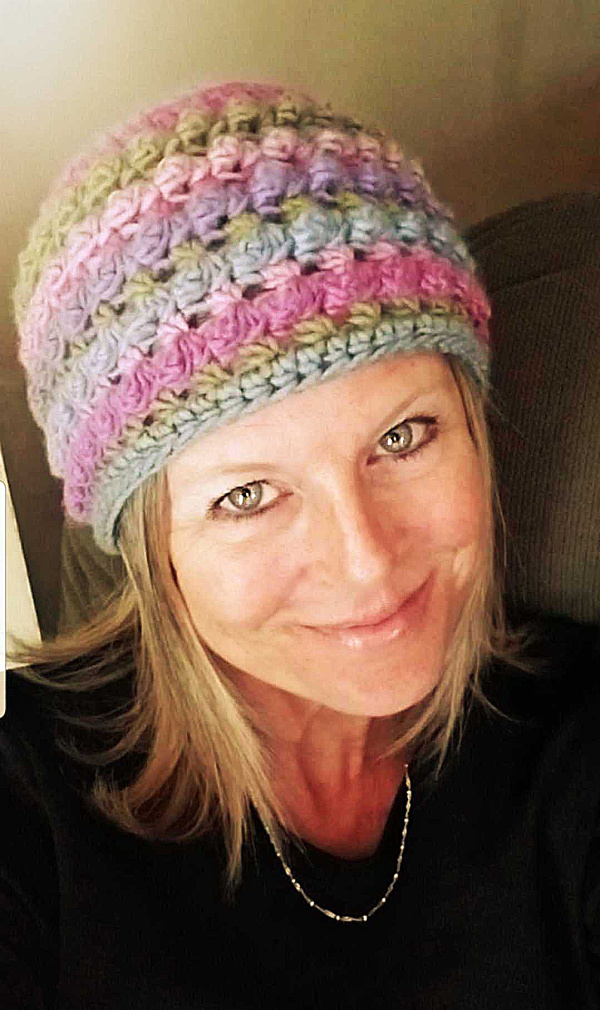
- Yarn – The hat in the photo above was made using RedHeart Colorscape (Shanghai). For the video, (coming soon) I used Yarn Bee Rustic Romantic Yarn (Window ivy), other great choices that work up nicely for this project are LionsBrand Landscapes or RedHeart Unforgettable. (Look for the number 4)
- J hook – (6mm) was used for both written and video.
- Stitch marker (optional)
- Blunt needle
- Scissors
Techniques & Terms
- Hdc – Half double crochet – Yarn over, insert hook into stitch, yarn over and draw through a loop. Yarn over once more and draw through 3 loops on hook.
- Hdsc2tog – (Combined Hdc and Sc over 2 stitches) For the sake of releasing this pattern, I will describe the stitch and until I know the technical name for it, if there is one, it will be identified as hdsc2tog: Yo, insert hook into stitch, yo, pull through; insert hook directly into next stitch (without yo first), yo, pull through; Yo, draw hook through all 4 loops on hook. [As you see, it is neither a hdc2tog (pulling through 5 loops) nor a sc2tog (pulling through 3 loops)] This section of the video will assist you with the Hdsc2tog.
- Dc – Double crochet – Yarn over, insert hook into stitch, yarn over and draw through a loop. Yarn over and draw through 2 loops on hook, yarn over once more and draw through last 2 loops on hook.
- RBS (Rose bud stitch) – Hdc into st, yo twice, insert hook into same space as hdc, yo pull through stitch, yo pull through 2, yo pull through 2, insert hook directly into next st, yo, pull through, yo and pull through all 3 loops on hook, give a little tug. You have just created a rose bud. (You should see a defined raised bump. If you don’t, you may need to … give it a little tug again!) This section of the video will assist you with the Rose bud stitch.
- Sl st– Slip stitch
- Ch – chain
- ** When you see the asterisks in the pattern, you will repeat the content within them for that row/round.
SIZING TIPS! This fits an adult head size 21”, it has a little stretch and should cover 20” – 22”, but if you need for it to be smaller, eliminate round 6 and add an extra dc to your last stitch in round 5 as you would have in round 6. Using these instructions, adjust size as needed using chart below:
Beanie Pattern:
(Slouch and Messy bun hat patterns can be found below beanie pattern.)
- Create magic loop (OR ch 4, join to 1st ch to form a loop)
- Ch 2, 12 dc into loop. Join to top of 1st dc made.
- Ch 2, 2 dc into same chain space, 2 dc (inc) into every stitch after. Join to top of 1st dc made (24)
- Ch 2, 2 dc into same chain space, 1 dc into next, *inc in next st, 1 dc into next* Repeat ** to end, join to top of 1st dc made. (36)
- Ch 2, 2 dc into same ch sp, 1 dc into ea of the next 2 st, *inc in next st, 1 dc in ea of the next 2 st* Repeat ** to end, join to top of 1st dc made. (48)
- Ch 2, 2 dc into same ch sp, 1 dc into ea of the next 3 st, *inc in next st, 1 dc in ea of the next 3 st* Repeat ** to the end of the round, join to top of 1st dc made. (60)
- Ch 2, hdc in 1st st, then over next 2 st, work *hdsc2tog + ch 1* Repeat ** until you have only 1 ch left. work hdc into last st. (IMPORTANT- do not forget to chain 1 after your final hdsc2tog before you create your final hdc or your stitch count WILL be off.) TURN YOUR WORK
- Chain 2, RBS over 1st 2 stitches (Described in Technique section above), *RBS across remaining stitches to end. TURN
Repeat rows 7 & 8 until your hat covers your ears.
I repeated row 8 for a total of 4 times after the 1st, then ended with row 7 and then an additional row of straight hdc.
If making for a gift for someone else, follow the hat chart below on sizing.
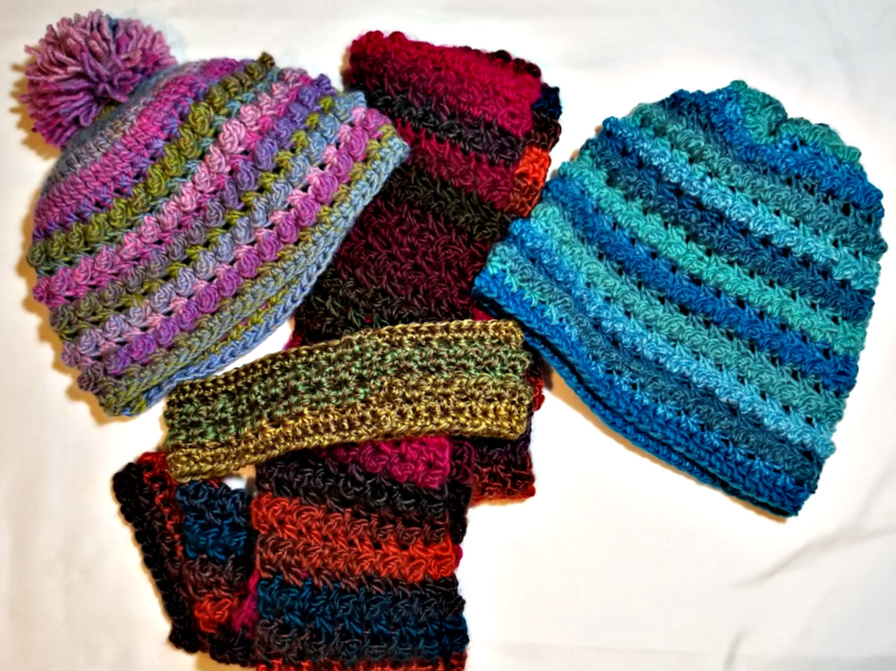
Optional! Top it off with a fun littlep pom pom!
Messy Bun Hat Pattern:
- Ch 36, join to the 1st chain made to form a loop. Continue working from round 5 of the beanie pattern above. You will either work into the chains to start or if you prefer, you can work directly into the circle as long as you keep track of your stitch count.
The beginning is the only difference with the messy bun version. This will leave a space big enough for the messy bun and then you will refer to the beanie hat pattern above to complete the pattern.
Full Slouch Pattern:
For the full Ramblin’ Rose Slouch Pattern, we will work this starting with the total stitch count ended in the beanie, work cylindrical and then in the end when you have reached the desired length, pull the top together to close off.
- Ch 60, join to 1st st.
- Ch 2, work 1 hdc into each stitch around starting with same ch space (this will be the brim of the hat) (60)
- Ch 2, hdc in same ch space, then over next 2 st, work *hdsc2tog + ch 1* Repeat ** until you have only 1 ch left. work hdc into last st. (IMPORTANT- do not forget to chain 1 after your final hdsc2tog before you create your final hdc or your stitch count WILL be off.) TURN YOUR WORK
- Chain 2, RBS over 1st 2 stitches, beginning with the same chain space (Described in Technique section above), *RBS across remaining stitches to end. TURN
Repeat rounds 3 and 4 until you reach your desired hat length. Leave approx 12” tail.
Weave the tail in through the top stitches of the hat and pull to close hat.
Add pom pom if desired or leave as is.
IMPORTANT: If you need to make a smaller hat, you will start with a stitch count less the eliminated round from the beanie pattern!
Example: For an 18-20″ hat, start with only 48 chains or less depending on size of hat, then continue pattern at round 2.
PLEASE! Feel free to ask if this section gets confusing.
Headband suggestion! I made a very cute headband with this pattern. I LOVE how it turned out. For this option, simply work the pattern starting with the slouch hat version and work it to the number of rounds you desire for width.
Easy peasy! ????
FULL VIDEO TUTORIAL AVAILABLE FOR THIS PATTERN!
Hat Sizing Chart:
Preemie – Head Circumference= 11-12″ | Hat Length – 4″
Newborn – Head Circumference= 13-15″ | Hat Length – 5″
3-6 mos – Head Circumference= 15-17″ | Hat Length – 5.5″
6-12 mos – Head Circumference= 16-19″ | Hat Length – 6.5″
1-3 yrs – Head Circumference= 18-20″ | Hat Length – 7″
3-10 yrs – Head Circumference= 19-21″ | Hat Length – 7.5″
Teen/Adult – Head Circumference= 21-22″ | Hat Length – 8″
Pattern Terms:
Hello! Colleen Hays here, owner of YarnWars.com. I created this pattern to be offered free to my yarn crafting friends near and far. This includes anyone with a passion for yarn in whatever medium, crochet, knit, loom and more. Whatever you wish to do, be it sell or gift your final workup of this pattern, you are welcome to do so, I just ask that you try to give a small credit in some way to YarnWars for the design. Please do not distribute copies of this pattern instead, please refer others to YarnWars.com website to pick up their own free copy. Referring others to my website is what enables me to continue creating free patterns for the community and offering venues for yarn-tistas to come together. All of my patterns are also available for download in the Files tab of our YarnWars Facebook group.
Thank you for your interest in my pattern and your appreciation for the terms laid out! ♥


